3 to 4 Element SteppIR Upgrade |
I have no complaints with the 3 element SteppIR but bigger is almost always better. I originally wanted the 4 element model but talked myself out of it when considering the size and how difficult it would be to assemble on the property and then get it up on the tower. I was also concerned with how much of the antenna would hang out over the busy street and the complaints that might bring. Well, after a year of the 3 element being installed and having no problems with it's elements hanging over the street, I decided to just go for it with the big one. The 16 foot boom is replaced with a 32 foot boom and the addition of another director. I figured I can assemble it on the roof next to the tower and just lift it up into place. I really need to be sure to 'park' it when not it use as this one will hang out 7 feet beyond the property line. We'll see how this goes...
|
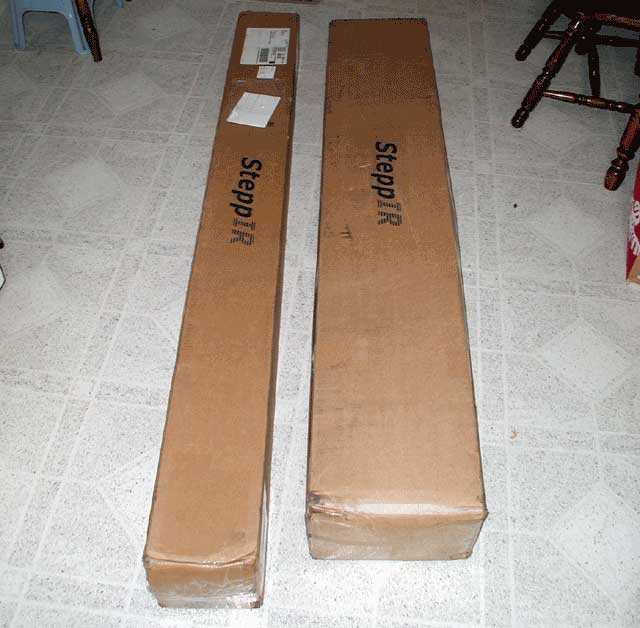 |
I placed the order on 11-09-2005 and was told the wait time would be 8 weeks. They ended up shipping in exactly 6 weeks. Just in time for Christmas, Santa in the Big Brown Truck delivered 80 pounds worth of cool hardware on 12-23-2005.
|
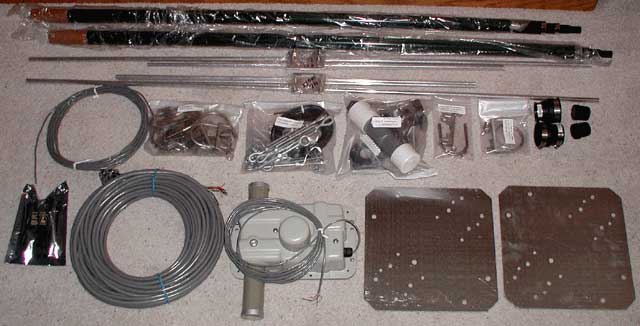 |
The smaller box contains the boom and all this stuff was in the other box. Two fiberglass tubes for the new element, two aluminum elements for the 6 meter passive add-on kit, Philystran for the boom trust support, bags of hardware, new driver and CPU for the controller, 100 feet of 16 conductor control cable, stepper motor housing unit and boom to mast plates. This is going to be fun, I hope...
|
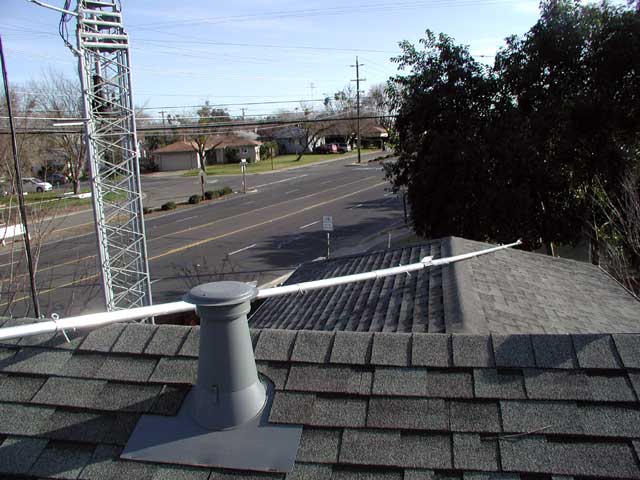 |
I wish the roof was more accommodating but I was able to orient it in such a way that the elements would clear everything and I could just walk it over to the tower and hoist it straight up. I first assembled the boom on the ground then positioned it up on the roof.
|
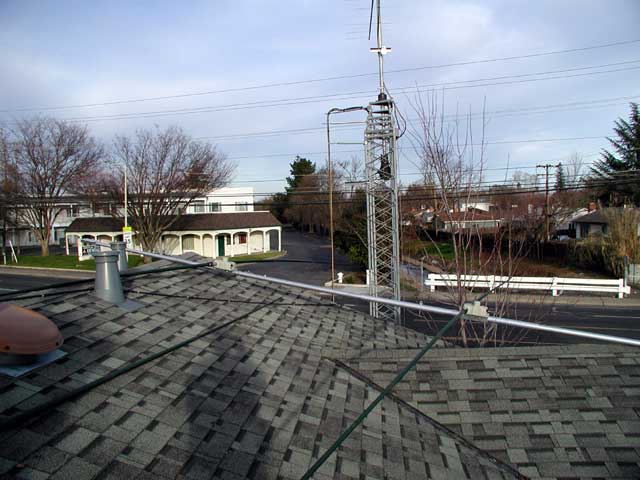 |
Here is the boom after 3 of the elements have been attached. The fourth is still laying on the roof and will attach to the boom to the left. Yes, that tree is in the way but shouldn't cause too much trouble.
|
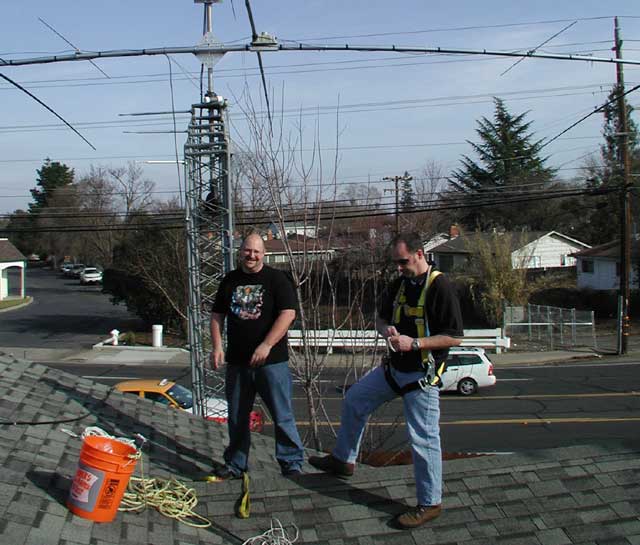 |
Slightly out of sequence, but here is the help. On the left is my neighbor Shane who obviously provided the muscle. On the right is my best friend Travis who wired up the control cable and bolted the antenna to the mast plate. These guys made the job way too easy and fun.
|
 |
A pulley was attached to the mast a couple feet above the mast plate and Shane effortlessly hoisted up the antenna while Travis and I walked it up the tower and slipped it onto the "EZ-Eye" (tm) bolt on the mast plate. Travis then added the "U"-bolts and clamps to the boom and locked it into position.
|
 |
Travis working on securing the boom to the mast plate.
|
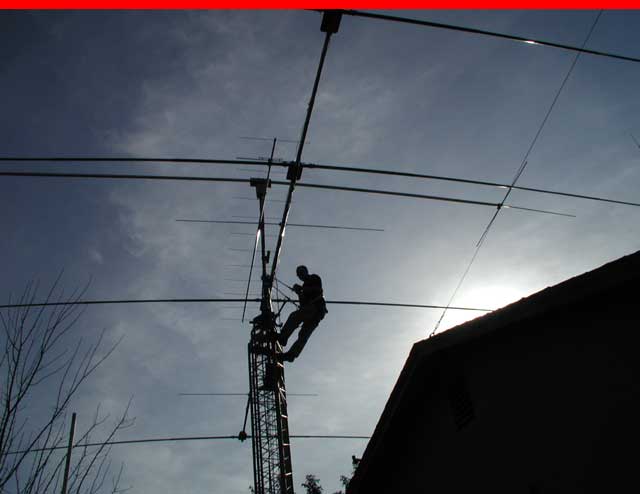 |
According to Travis, this is his "good" side?
|
 |
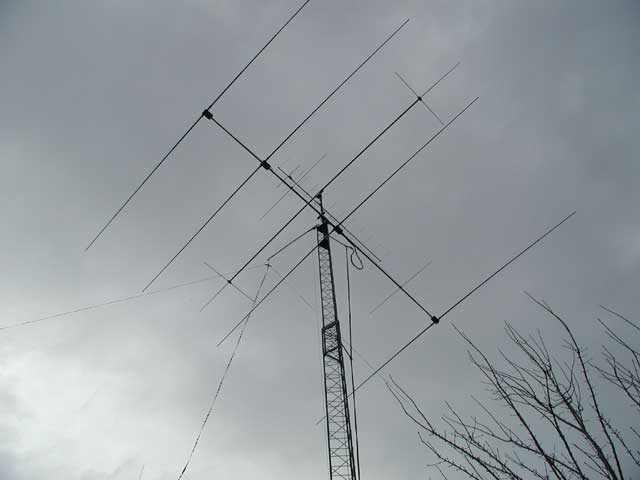
Here it is after the help left me to do the rest of the work by myself. Fortunately, the storm held off until after the antenna was up and the truss cables were installed.
|
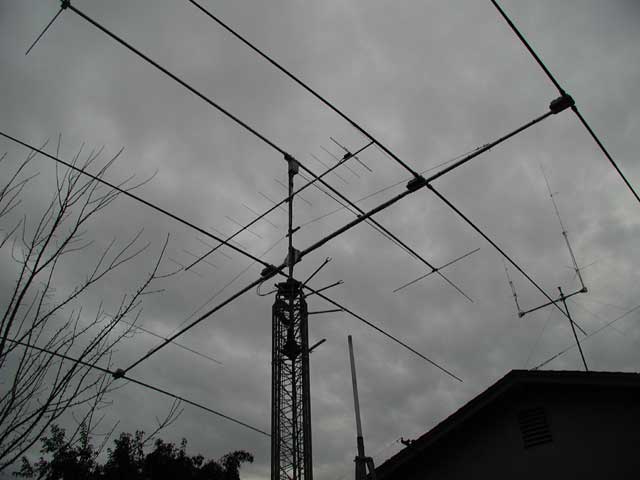 |
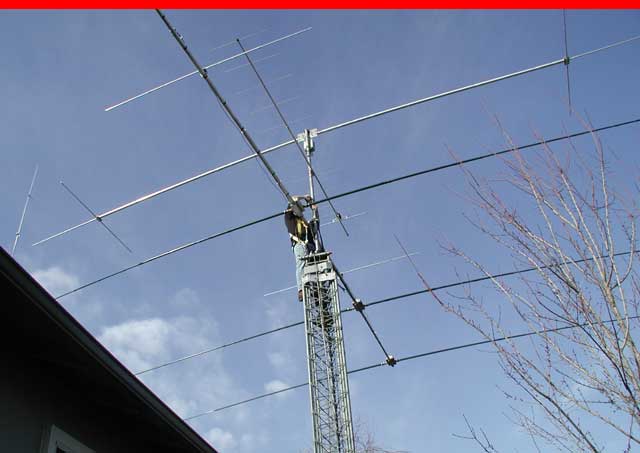
Looking up at this thing. Sure makes the old 3 element look like a toy. Still need to run the coax and other cables.
|
 |
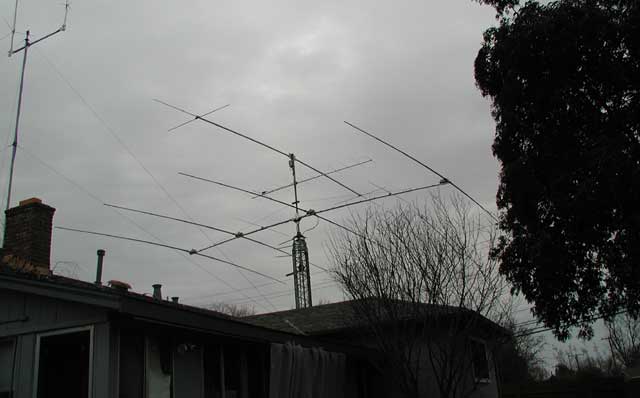
Cranked up into position and viewed from the backyard.
|
 |
Seen from below with the Cobra Ultra Lite dipole re-installed on the tower.
|
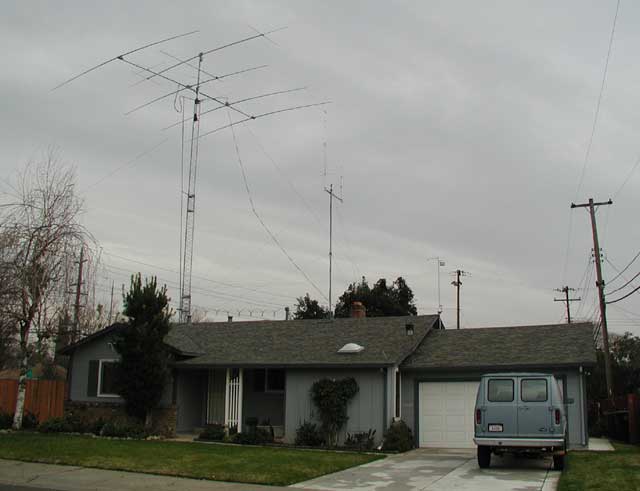 |
Finally, a shot from across the street showing just how cool this thing looks! This is what my neighbor Shane gets to look at from his front yard.
|
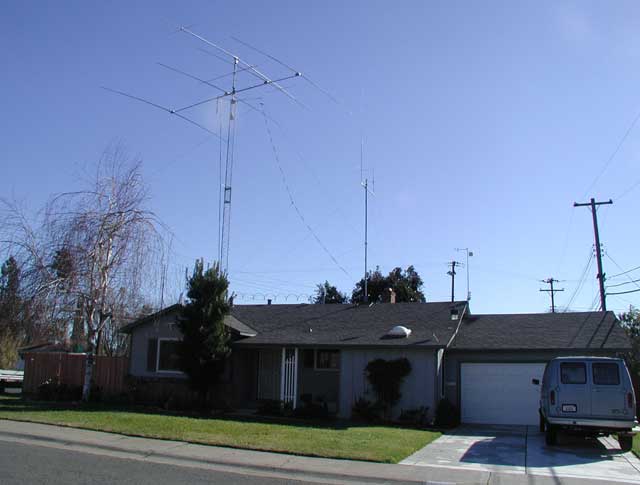 |
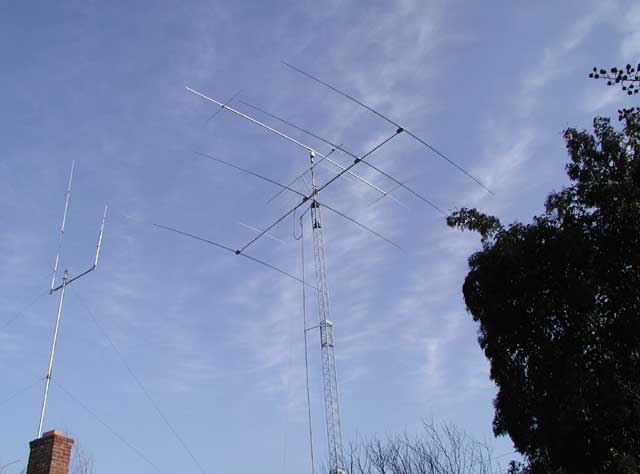
The clouds finally left for a few days allowing a sunny view. You can also see my new weather station on the roof over the garage. Click here to see my weather data page.
|