3 Element SteppIR |
I live on a relatively small lot so I don't have much room to assemble a large beam and somehow get it on top of the tower. After much thought and research, I decided to go with the 3 element SteppIR for many reasons. It covers 20m to 6m with excellent performance. I can assemble it on top of the tower since I don't have room on the ground to do it. I can put it up and maintain it by myself if needed.Can be positioned when not it use to not hang out over the street. Can be made resonant at almost any frequency so I don't need to keep adjusting the amp. The "Boom-Slide" is a mounting plate the temporarily bolts to the mast and allows the boom to be slid from end-to-end so the elements can be attached to the motor housings. Once the end elements are installed, the boom it removed from the Boom-Slide and permanently attached to the mast and the Boom-Slide is removed. This worked great and eliminated the need for room on the ground to build the entire antenna. There are many sites on the Net documenting the SteppIR so below are pictures uniqueto my installation. |
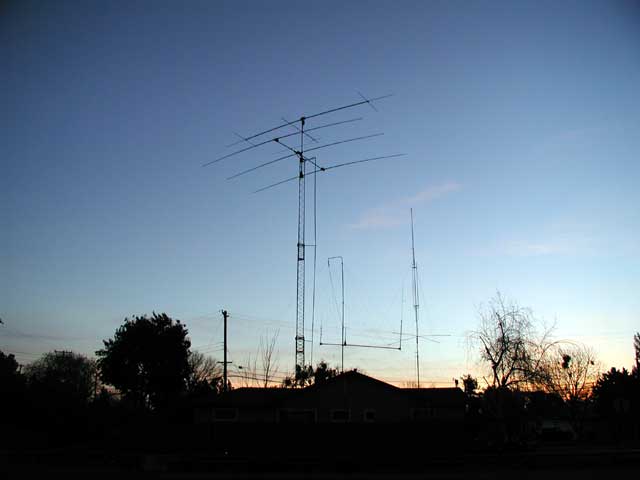 |
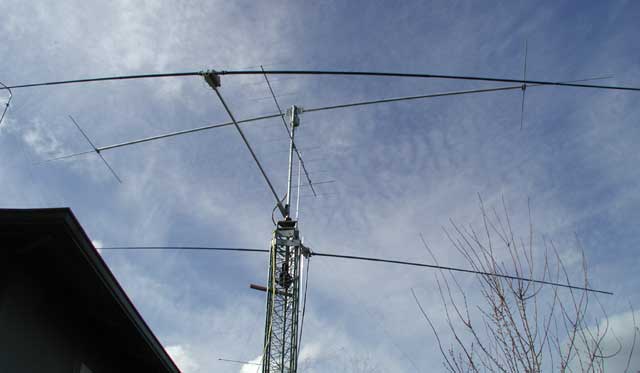
The antenna farm at dusk. The SteppIR is a great clean looking antenna.
|
 |
First the boom is installed in the Boom-Slide and is ready for the elements to be added.
|
 |
|
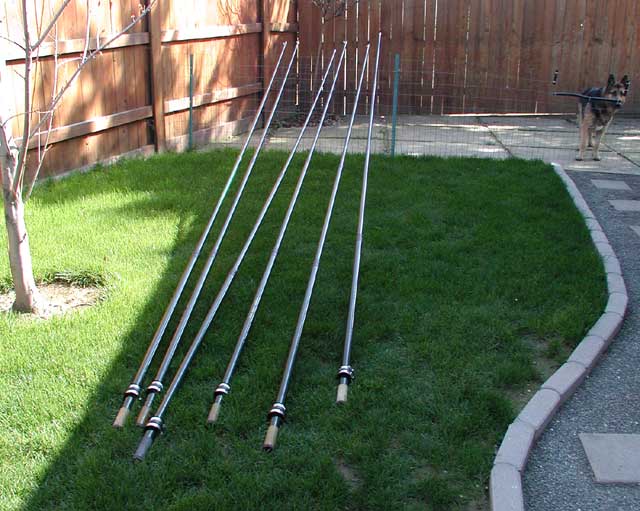
Here are the elements (hollow fiberglass rods) waiting to be installed onto boom on tower.
|
 |
Here the boom has been slid to one end so the first pair of fiberglass rod elements can be easily attached.
|
 |
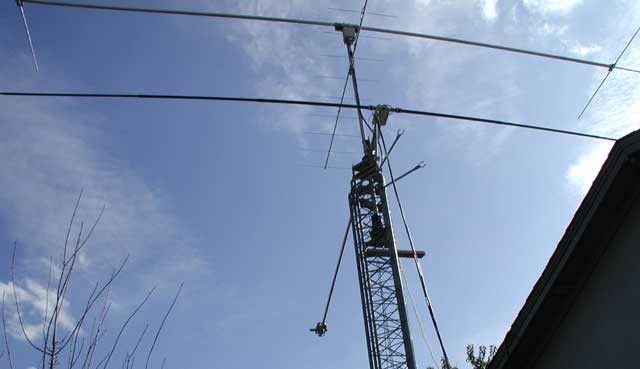
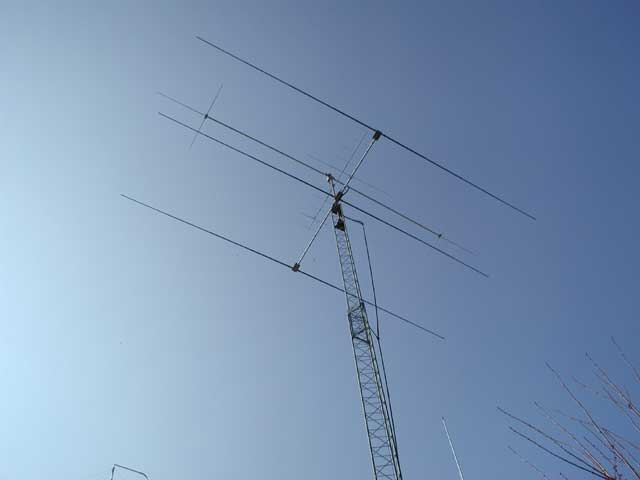
Now the elements have been installed on both ends of the boom. Next the boom is removed from the Boom-Slide and attached to the mast. Then the middle (driven) element is installed. And there you go... The antenna has been assembled on the tower.
|
 |
|
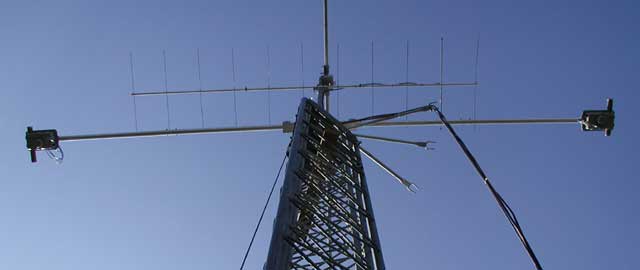
Looking up after all elements have been installed. Force12 Sigma 143 and Cushcraft 2m beam are located above the SteppIR.
|
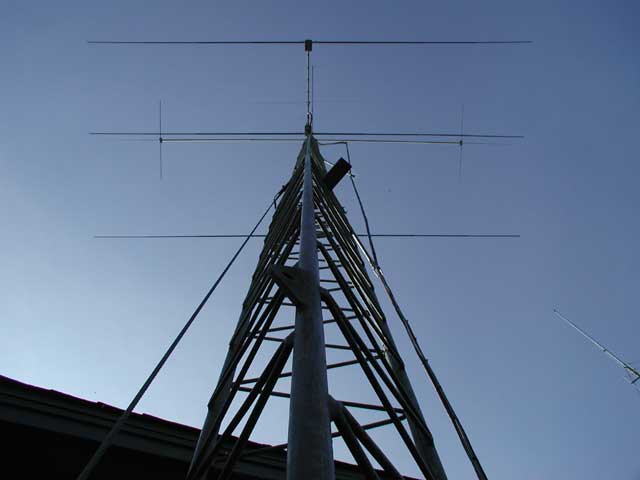 |
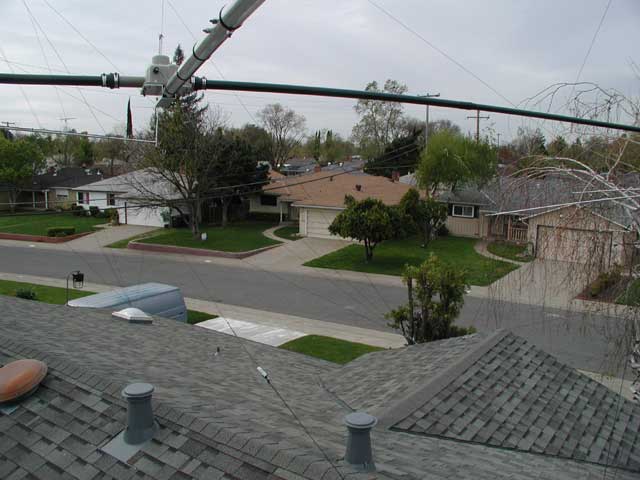
Looking straight up at antenna stack.
|
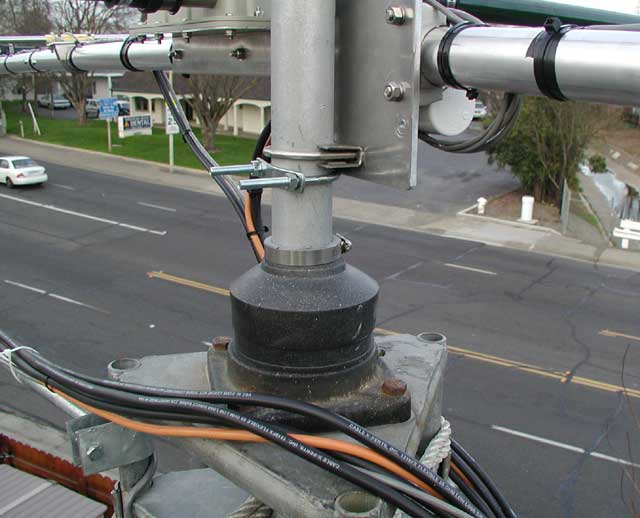 |
At the top of the tower, I used a rubber plumbing adapter to cover the thrust bearing. This helps to protect it from the weather. I left a small gap to allow air flow to aid in drying any condensation and water that may get in.
|
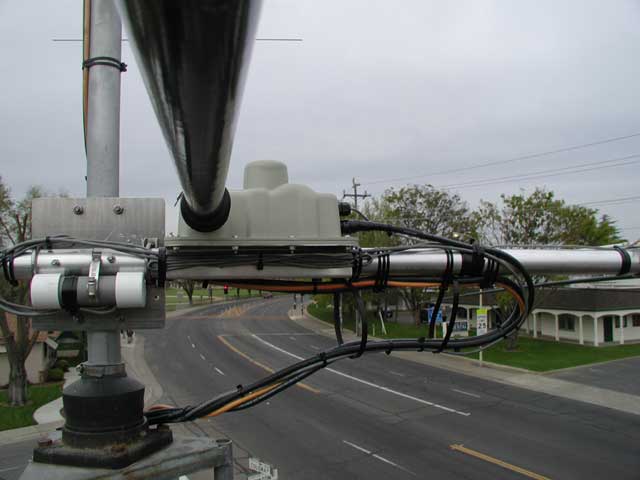 |
All 3 cables containing 5 wires from the motor housings are connected to a 12 conductor control cable on a terminal strip and inserted into the white PVC tube pictured above. This is kind of messy but since the SteppIR is only 1 foot above the top of the tower, it was the only way I could get a rotor loop to work well without snagging on things.
|
 |
A close-up view of the coax loop.
|
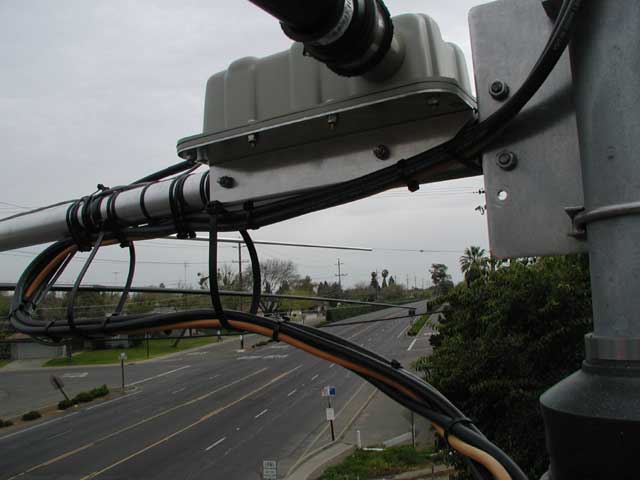 |
A view from the other side of the mast.
|
 |
Looking back toward the reflector.
|
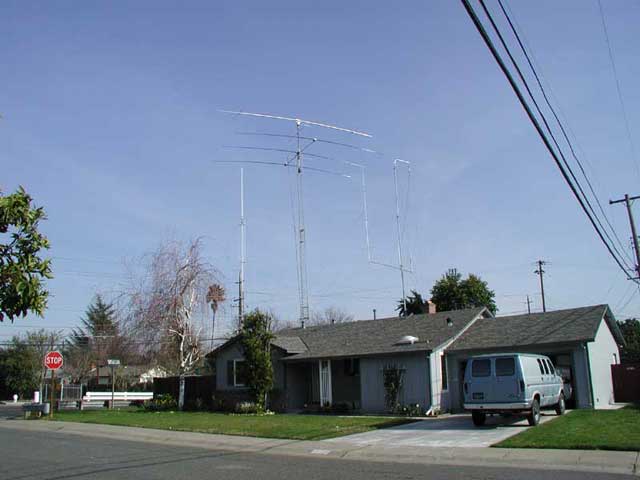 |
And finally, a view from across the street.
|