Force12 Sigma 143 |
This was a very frustrating antenna to tune and install. I bought it used but new in the box from a Ham in Alaska. I was impressed with the quality of components and beefy aluminum parts. The antenna is physically resonant on 30m and when a 12 volt relay in the box up at the antenna is energized, it adds in two coils to lower the resonant frequency for 40m. First of all, the boom-to-mast plate was not drilled properly. It was frustrating trying to figure out how it was supposed to accommodate the antenna. Turns out, it is a universal plate used for several of their antennas. So after drilling some holes, It went together relatively easily. I never used rivets before but they turned out to not be difficult to use. Then the real frustration started when I tried to tune this thing. At the time, Force12 was very difficult to talk to on the phone. They rarely returned calls and usually no one was available to help. Hopefully, they have improved their customer service. When assembled per the instructions, it resonated almost 1 meg below the 40m band. After much testing and finally getting help from Tom at Force12, He had me remove the end elements from both capacity hats and shorten the overall length. I also had to remove 2 turns from the coils in the relay box. This meant I had to remove the antenna and make the modifications. It took many days, tons of time, and many up/down cycles on the tower. In the end, the best I could obtain is 1.7:1 on 40m and 1.3:1 on 30m or adjust the hairpin for a 1.5:1 on both bands. As far as I can tell it seems to work pretty well. I can work them if I can hear them. I often wondered if they ever built one of these before selling it.
UPDATE: Replaced with 30/40 SteppIR Upgrade in September 2007 and removed from service
|
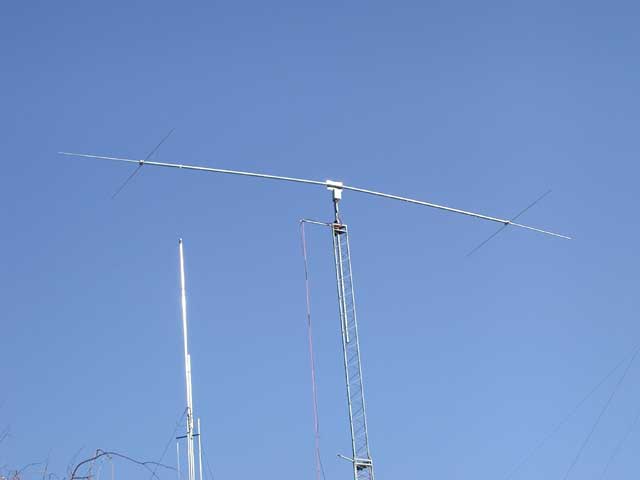 |
Here is the Force12 Sigma 143 installed. You must admit, it looks pretty cool.
|
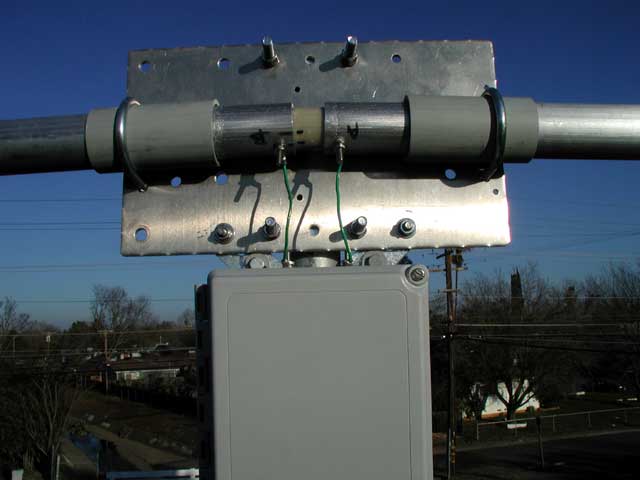 |
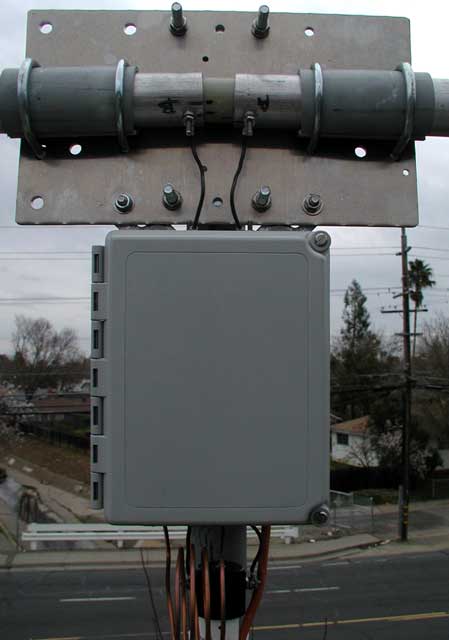
Here is what the mounting plate and relay box look like after installing them on the mast (the first time.)
|
 |
|
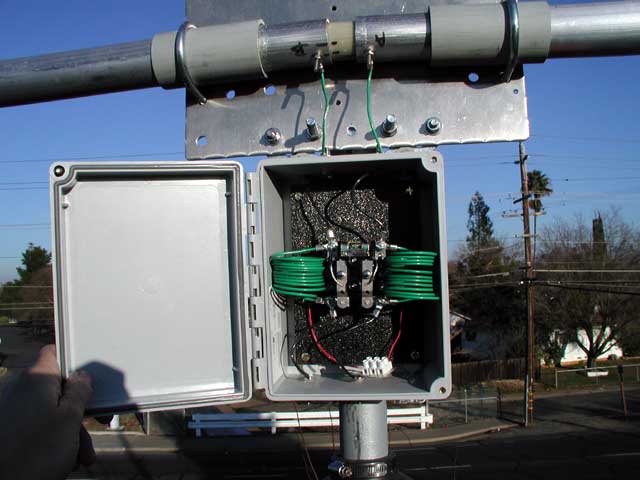
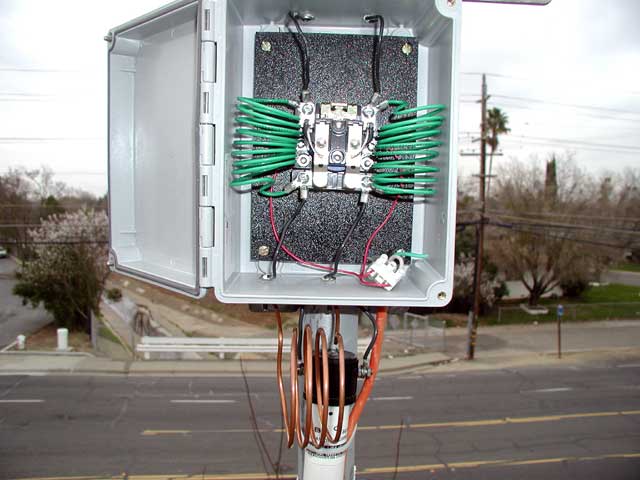
Inside the relay box is a DPDT relay and a set of coils that are switched out when on 30m.
|
 |
The mounting plate after I drilled additional holes to accommodate another set of U-bolts. In my opinion, it should have come this way. There is just too much weight hanging out there for only one U-bolt per side
|
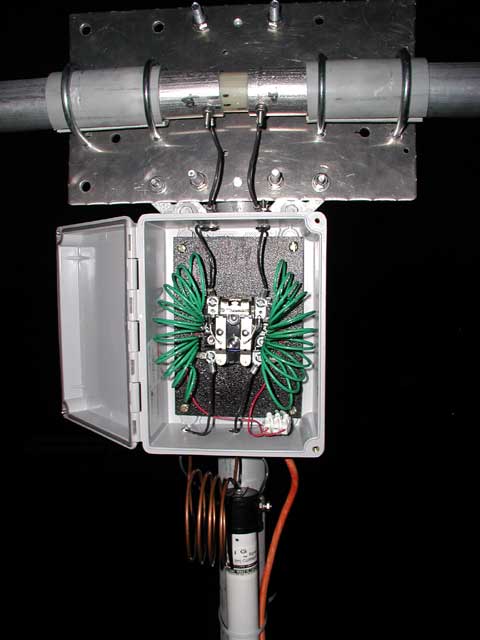 |
In order to get the antenna to resonate in the 40m band, I had to stretch out the coils as much as I could. It got it close but was still a little low in the band. The next step was to remove 2 turns from each coil.
|
 |
|
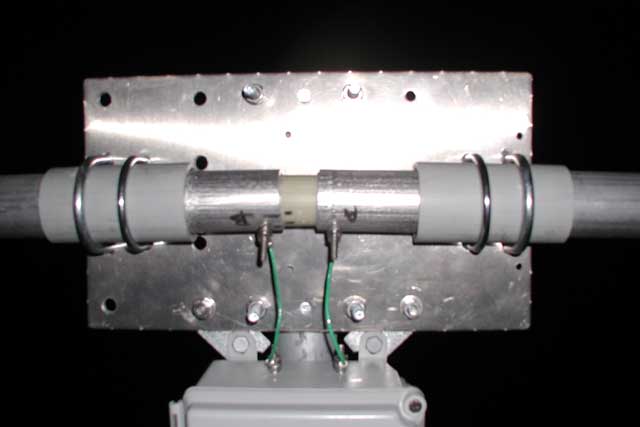
Here is the final Hairpin and coil spacing after removing 2 turns from the coils.
|
 |
Everything is done and ready for use.
|
 |
Playing with the coils while watching on an MFJ-269 antenna analyzer.
|
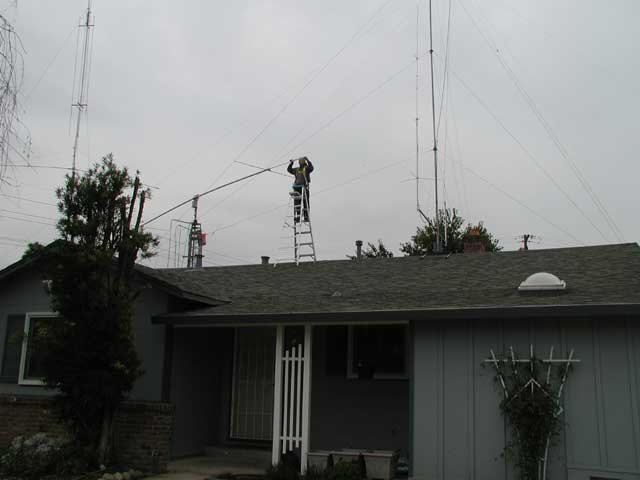 |
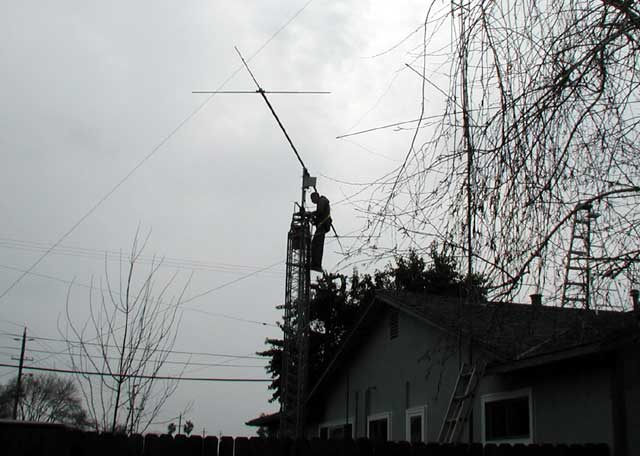
Fortunately, I was able to reach the ends of the antenna using a ladder placed on the peak of the roof. Here I am adjusting the length of the end segment.
|
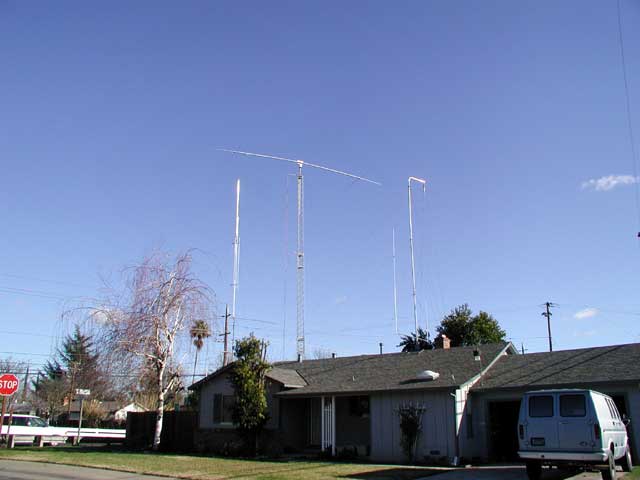 |
Here it is with the GAP Titan on the left and the mast with Maypole on the right.
|
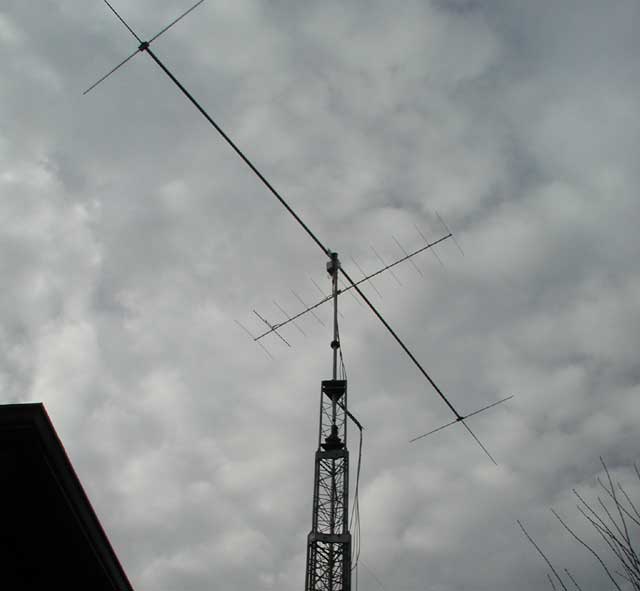 |
Finally, a view looking up after the addition of a Cushcraft 11 element 2m beam. I later replaced the 2m beam with a Cushcraft 13B2 Boomer 13 element 2m beam.
|
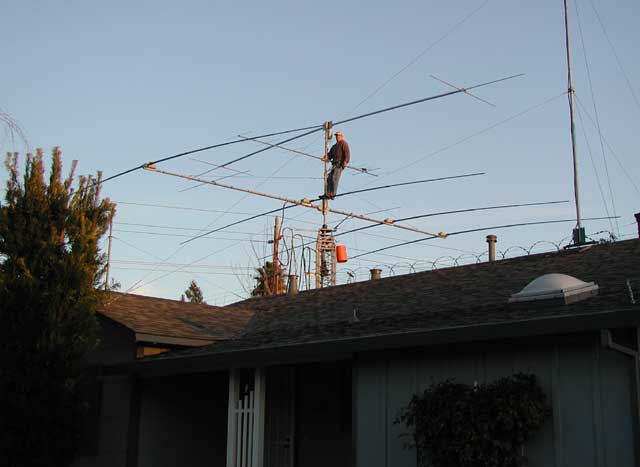 |
And here it is a year later with the Cushcraft 13B2 and newly upgraded 4 element SteppIR. I installed a little step on the mast just above the SteppIR so I can reach the Sigma relay box and hairpin coil. Not fun to climb up there but at least I can get to it this way. |